Example Lead Paint Projects in Kyle

Each example walks through one lead paint job: the house, what a test found, the work, how long it takes and roughly what it costs. Only about 4 in every 100 Kyle homes were built before 1980, so the examples are about the older houses in Kyle and in San Marcos and Lockhart, where far more of the housing is that old.

The jobs, clients and addresses in these examples are not real ones. Each one is built from local house ages, the steps that kind of work normally takes and current price ranges, so you have a fair idea of the work before you ask for a quote.

Lead-safe repaint of a bedroom in a 1960s house

Example project
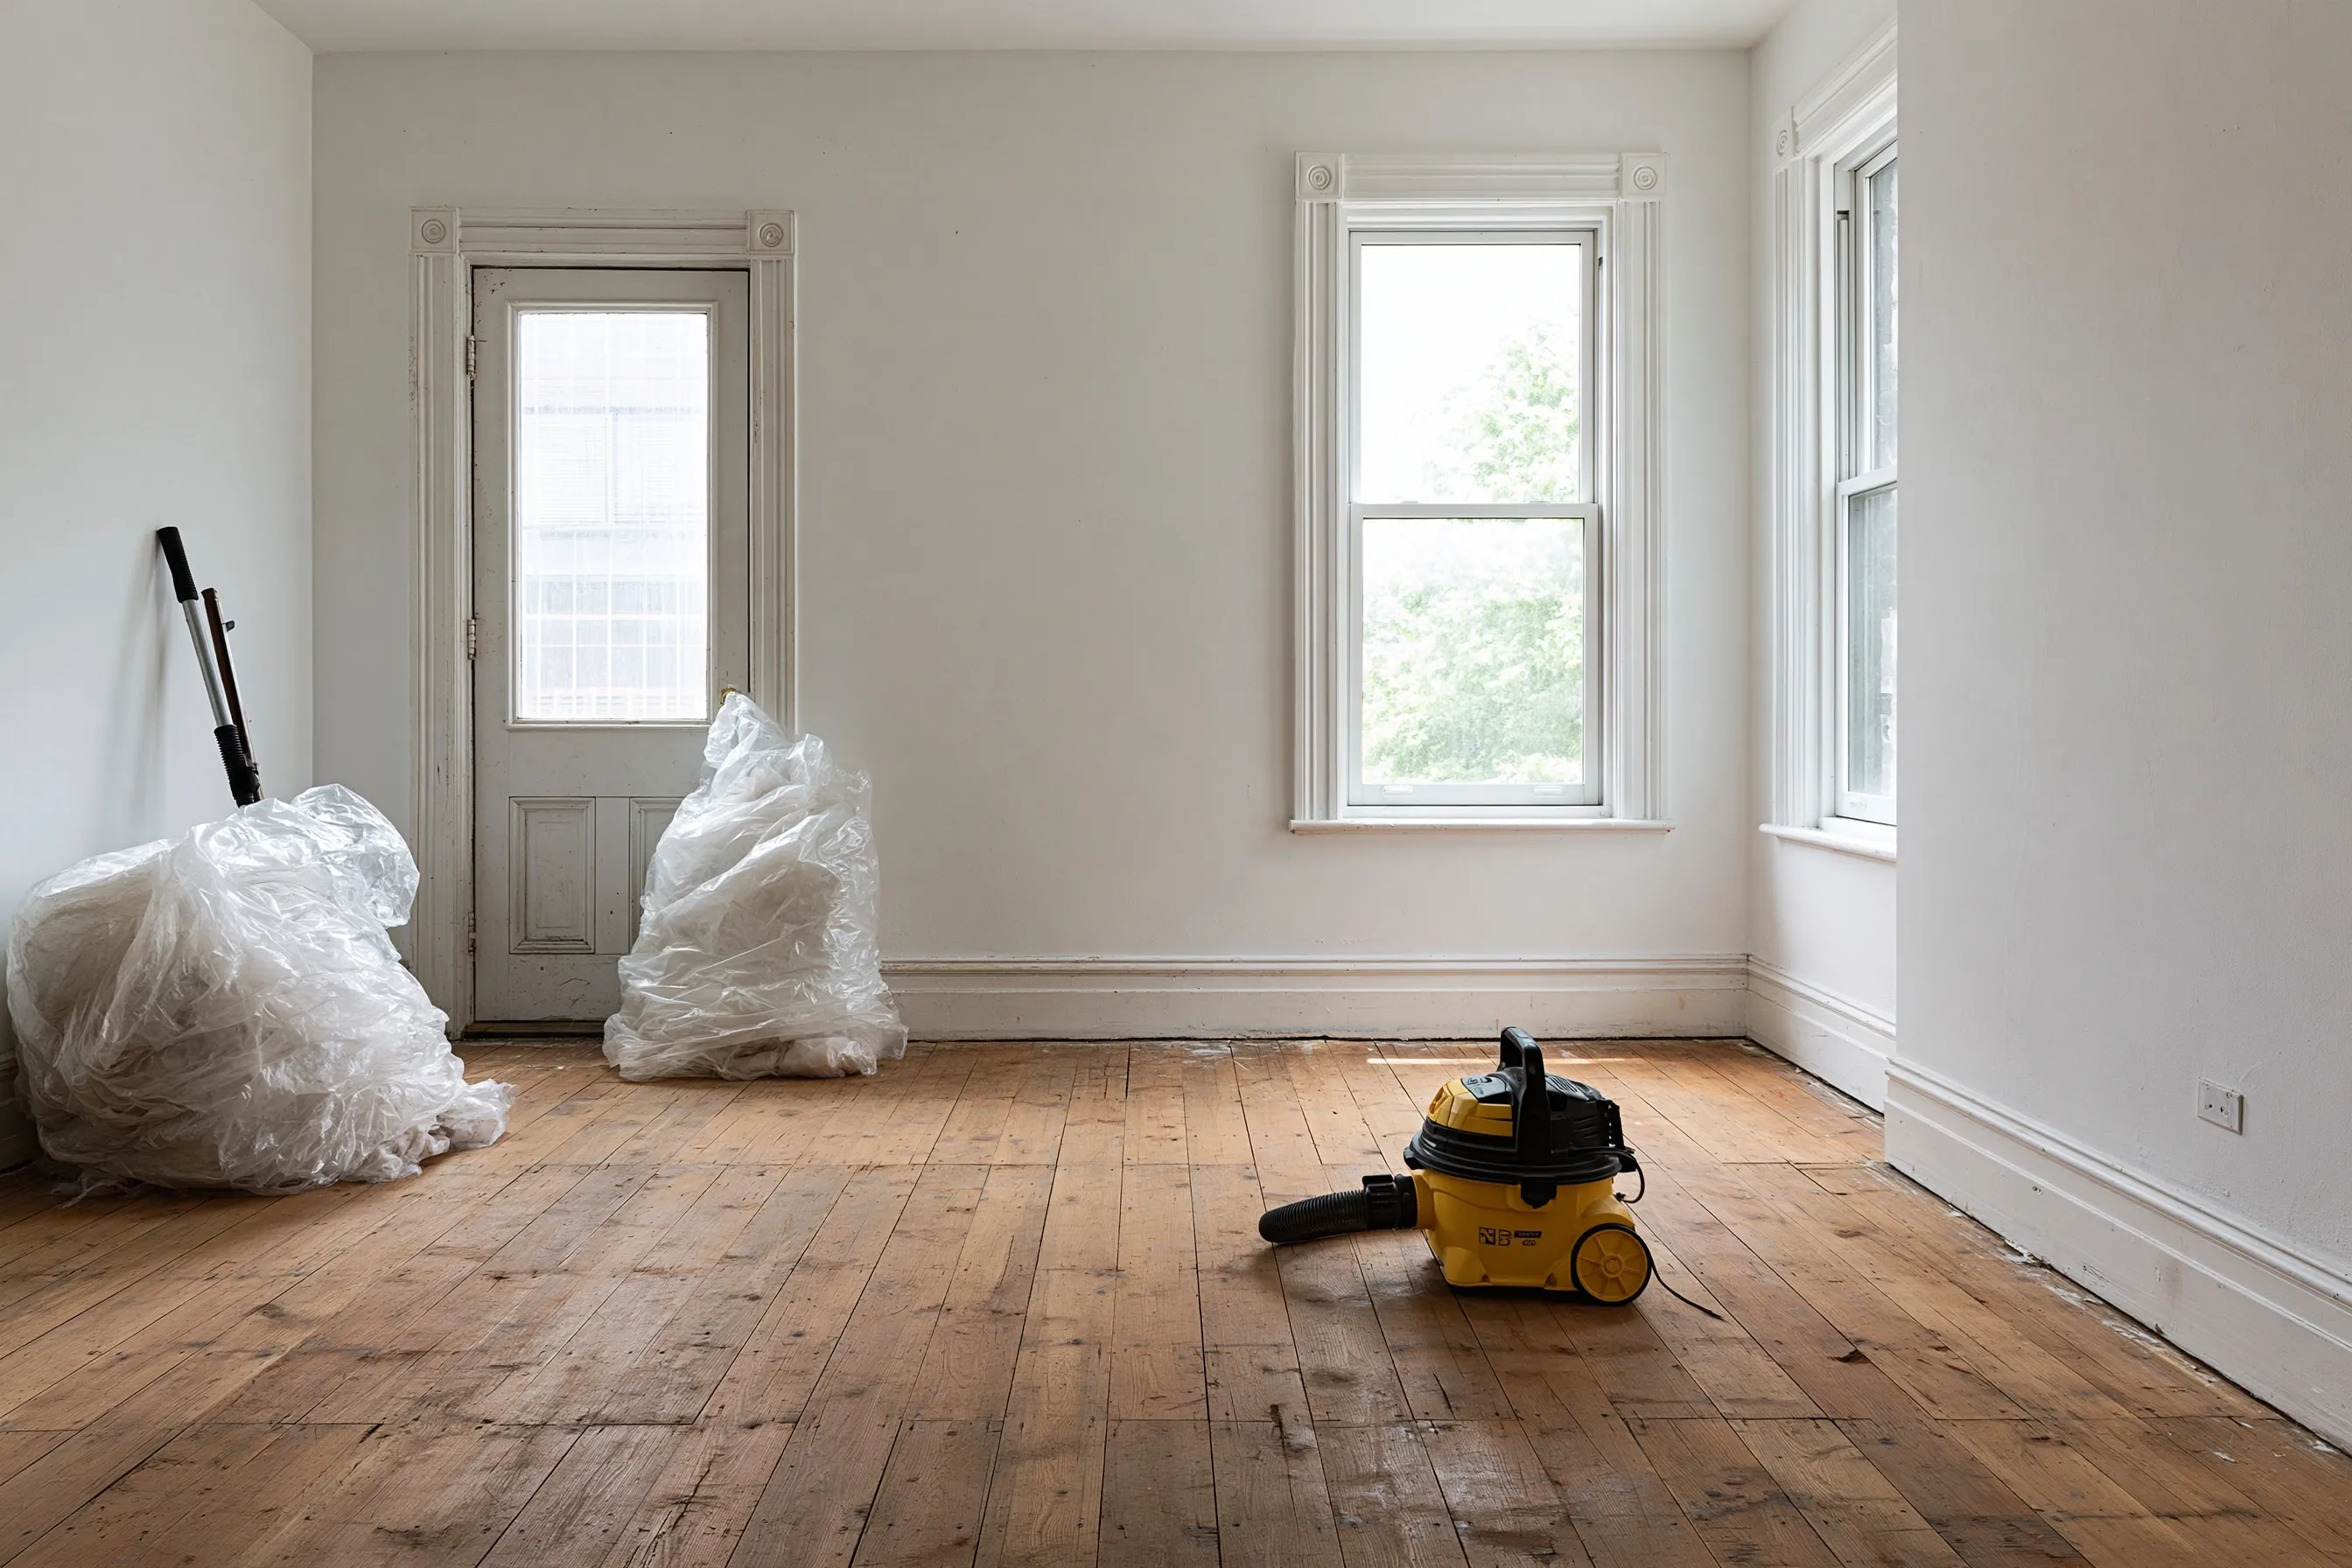
Empty bedroom with bare wood floors, a half-glass door, two bags of used plastic sheeting and a small vacuum
Home
1960s single-story house in Kyle
Original request
Repaint a bedroom whose window and door trim has chipped
Testing
Trim around both windows and the door tests positive; the walls do not
Room
Bedroom with a half-glass door, two windows and bare wood floors
Lead-safe add-on
Plastic sheeting, misting before scraping, HEPA cleanup and a cleaning check
Timeline
Four working days, one more than an ordinary repaint
Estimated add-on cost
$700

Scope of work

Plastic over the floor and across the doorway, the window and door trim misted and scraped by hand instead of dry-sanded, chips caught on the plastic, HEPA vacuuming each evening, a wet wipe of every surface at the end, a cleaning check of the floor and sills, and the plastic folded inward and bagged. Paint, patching and the painter’s time are priced in the repaint itself.

Project overview

In this example, the owners of one of the few Kyle houses built in the 1960s want to repaint a bedroom where the window and door trim has chipped. Before the painter starts, a paint test shows lead on the trim but not on the walls.

Scraping the trim around two windows and a door disturbs far more than the 6 square feet that counts as a minor repair, so the trim prep is done lead-safe. The walls are painted the usual way. The extra work is an add-on to the repaint, and most of it happens on the day the trim is scraped.

The goal

The goal is a bedroom the family can use the evening the plastic comes down, with the extra cost limited to the trim that tested positive.

Process

  1. Before work Paint test on the trim and walls, and the furniture moved out of the room.
  2. Day one Floor and doorway covered with plastic; the trim misted and scraped by hand, with the chips left on the plastic and vacuumed up in the evening.
  3. Days two and three Primer and paint on the trim, then the walls.
  4. Day four Every surface wiped, the floor and sills checked for dust, and the plastic folded inward and bagged.

Planning right

  • Test before anyone scrapes. If the trim had come back clean, none of this would be needed.
  • High-heat guns, open flames and sanders without a HEPA vacuum stay off lead paint. Misting and hand scraping make far less dust.
  • Children and pets stay out until the floor and sills pass the cleaning check.
  • Ask the painter whether lead-safe prep is in their quote or added on top.
Get a free quoteMore about lead-safe renovation

Lead paint stripped from porch posts and a front window

Example project

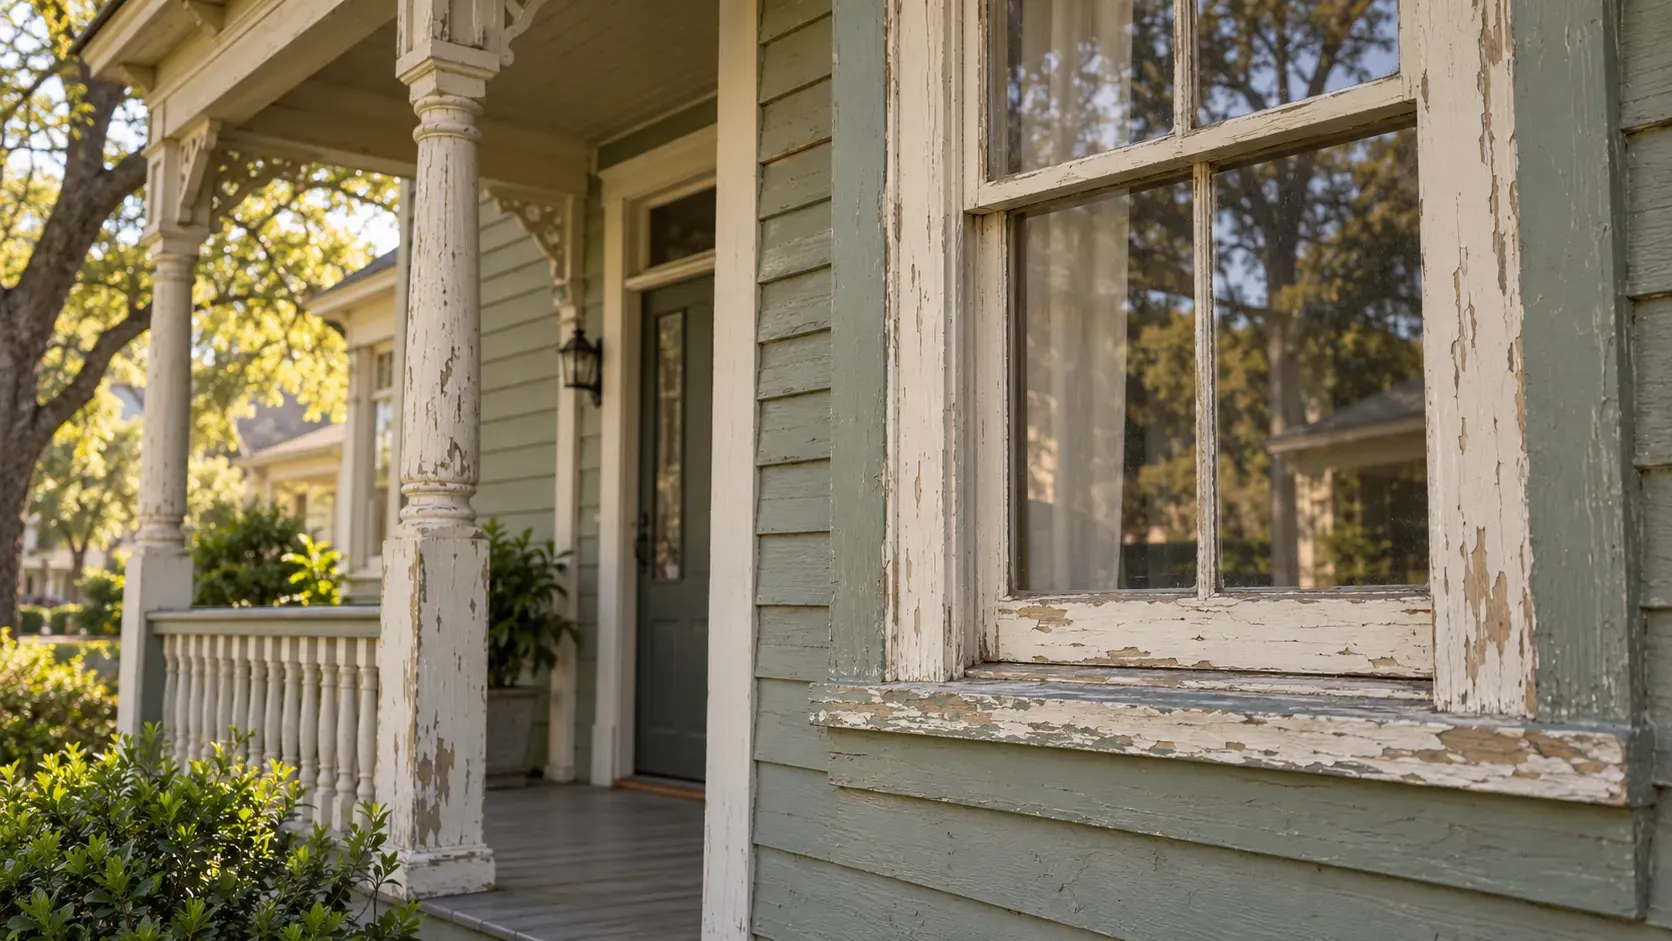
Older wood house with peeling turned porch posts, green lap siding and a front window sash shedding white paint
Home
Wood house in San Marcos built before 1940, with a front porch
Original request
Keep the turned porch posts and the front window, and get the peeling paint off for good
Testing
Lead paint on the porch posts and on the front window sash, sill and casing
Surfaces
Two turned porch posts and the front window, about 100 sq ft
Work
Paste stripper and wet scraping by hand, then primer and two coats
Timeline
State notice seven working days ahead, then four working days
Estimated cost
$1,600

Scope of work

Plastic on the porch floor and the ground below, the window closed off from inside, paint softened with a paste stripper and scraped off wet, the waste bagged each day, HEPA vacuuming, primer and two coats of lead-free paint, and a clearance check at the end. The siding and the rest of the trim are not part of this price.

Project overview

In this example, a family has bought a San Marcos house built before 1940. The turned posts on the front porch and the front window are shedding paint in flakes, and a test shows the old layers are lead paint. They want to keep the original posts rather than replace them.

Because the aim is to get the lead paint off for good, the work is abatement. The firm tells the state at least seven working days before starting, and the household stays away on work days. Stripping keeps the posts and the window as they are, so the house looks the same once the new paint is on.

The goal

The goal is the original posts and window back in fresh paint, with the old lead paint gone rather than covered.

Process

  1. Before work Test results reviewed, the state notified and the work days set.
  2. Day one Plastic laid on the porch floor and the ground, the window closed off inside, stripper on the posts.
  3. Days two and three Posts and window parts scraped wet, waste bagged at the end of each day.
  4. Day four Bare wood washed down, primed and painted, then HEPA cleanup and the clearance check.

Planning right

  • Do not sand or power-wash peeling paint on an old porch. Both spread lead chips into the soil.
  • Turned posts take much longer to strip than plain ones, which puts this job near the top of its range.
  • Push a screwdriver into the base of each post first. Soft wood means a repair goes into the plan.
  • File the clearance report with the house papers. A future buyer is owed a copy.

Get a free quoteMore about lead paint removal for older homes

Lead inspection before restoring a long front porch

Example project

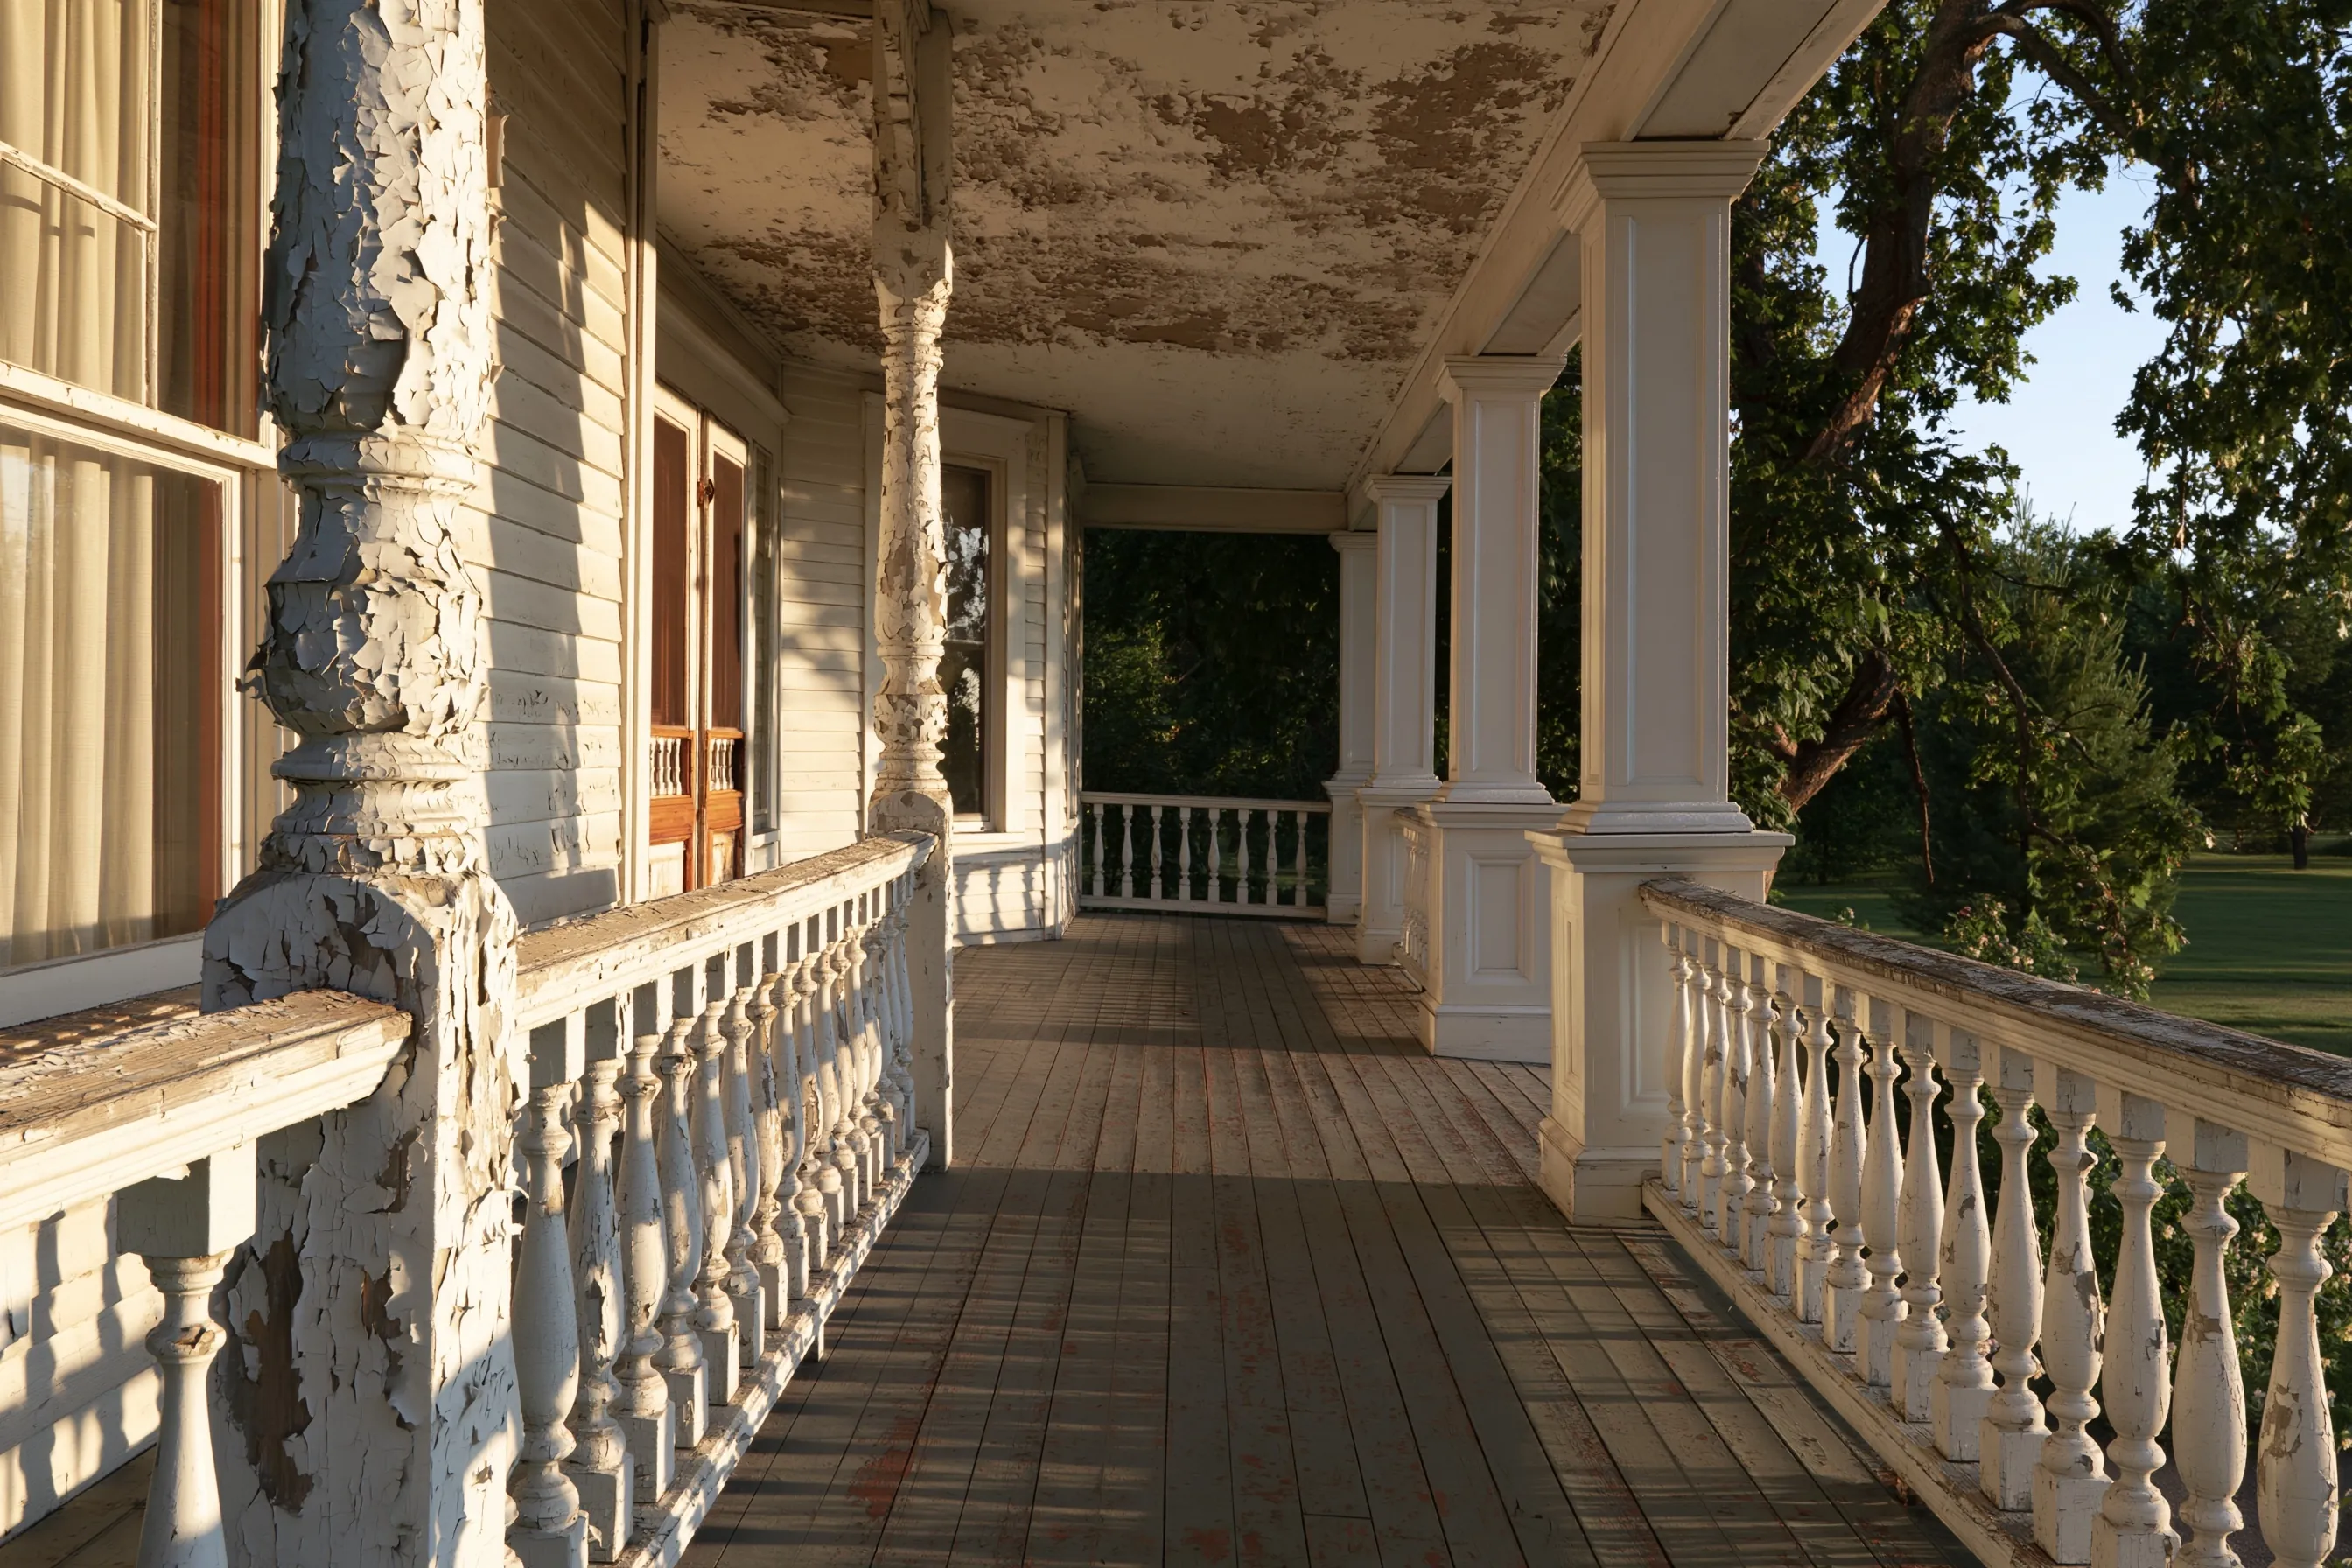
Long front porch on an older house with paint peeling from its turned columns, balusters and ceiling
Home
Two-story house in Lockhart built before 1940, about 2,800 sq ft, with a long front porch
Original request
Find out which parts have lead paint before restoring the porch
Surfaces
Porch columns, balusters, rails and ceiling, the siding and windows, and the trim inside
Condition
Paint peeling to bare wood on the columns, the top rails and the porch ceiling
Testing
Whole-house lead inspection with a written report
Timeline
Half a day on site; the report follows within a week
Estimated cost
$780

Scope of work

Readings on every painted part of the porch, the outside walls, the windows and doors and each room inside, paint chips sent to the lab where a reading is unclear, and a written report listing which parts have lead paint and which do not. The porch work itself is priced once the report is in.

Project overview

In this example, the owners of a large Lockhart house built before 1940 want to restore the long front porch, where the paint on the columns, rails and ceiling is peeling to bare wood. Before they ask for prices, they want to know which parts carry lead paint, and whether the trim inside does too.

A whole-house inspection answers both at once. Here the report finds lead paint on the porch columns, balusters, rails and ceiling and on the window trim, but not on boards replaced at the back of the house. The owners can then choose part by part whether to strip, replace or seal, and they know which jobs need lead-safe work.

The goal

The goal is a part-by-part list of where the lead paint is, so each porch quote names the right method and nothing is scraped blind.

Process

  1. Before the visit We check whether the house is a city landmark or inside the Courthouse Square district, since that affects what can be replaced.
  2. Visit Readings on each part of the porch, the outside walls and every room, with paint chips taken where a reading is unclear.
  3. Within a week A written report of which parts carry lead paint and which do not.
  4. Afterwards The report goes with the porch plan and any certificate for alteration the city needs.

Planning right

  • On a Lockhart landmark or in the Courthouse Square district, repainting in the same color is maintenance, but replacing porch parts with something different needs a certificate for alteration.
  • Flakes from a porch ceiling land where children play. Wet-wipe them up rather than sweeping.
  • Tall porch columns are often hollow and built up from boards. Rot inside one turns stripping into replacing.
  • One inspection serves every later project in the house, so file the report with the deed.

Get a free quoteMore about lead paint testing and inspection

Restoring an original front window in a 1940s house

Example project

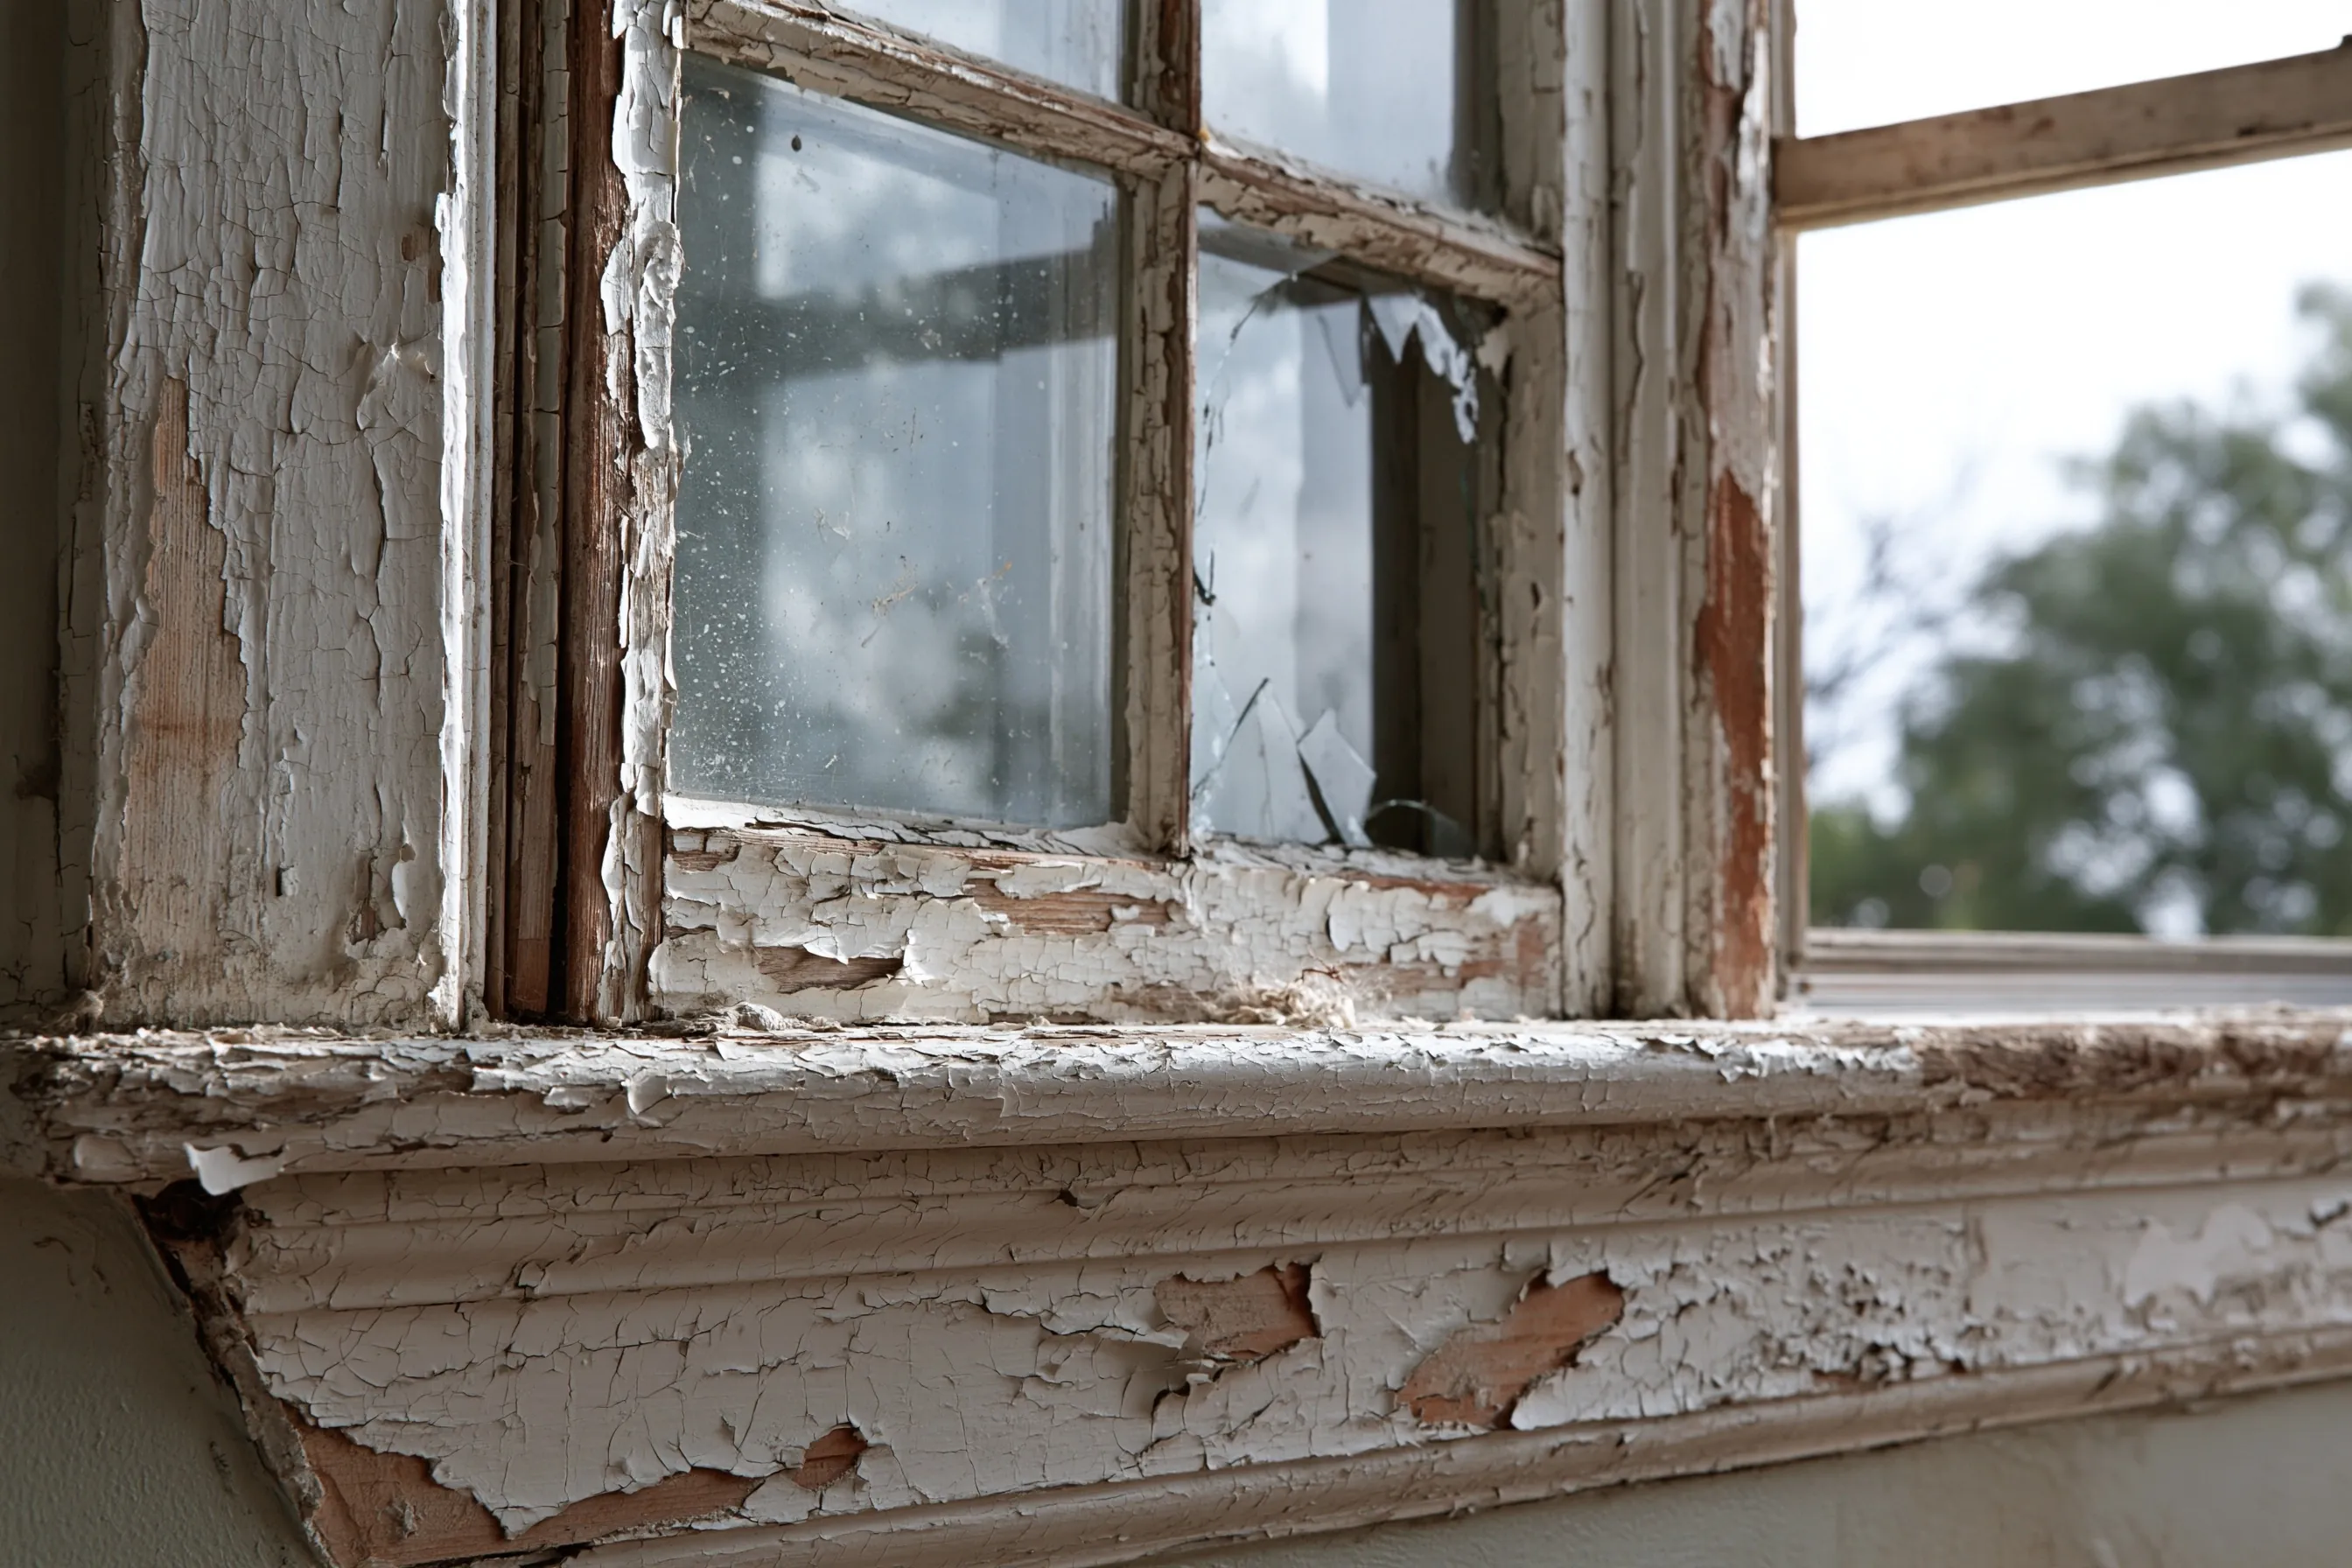
Old wood window sash and sill with white paint flaking to bare wood and a cracked pane
Home
1940s single-story house in Lockhart, about 1,400 sq ft
Original request
Keep the original front window instead of fitting a new one
Window
Divided-pane wood sash with one cracked pane, a moulded sill and casing
Existing finish
Layers of white paint flaking to bare wood; a test confirms lead paint
Work
Sash stripped in the shop, repaired and reglazed; sill and casing stripped in place
Timeline
State notice seven working days ahead, then about two weeks with the opening covered
Estimated cost
$1,200

Scope of work

The sash taken out and the opening closed with a temporary panel, the sash stripped in a closed shop, loose joints glued, the cracked pane replaced and the panes reglazed, the sill and casing stripped in place under plastic with HEPA cleanup, then primer, two coats of lead-free paint and new weatherstripping. A clearance check closes the job.

Project overview

In this example, the owners of a 1940s house in Lockhart want to keep the original front window, which faces the street, rather than fit a new one. Its paint is flaking to bare wood, one pane is cracked, and a test shows lead in the paint.

Because the owners want the lead paint gone from the window for good, the job is run as abatement, so the state hears about it seven working days before work starts. The sash leaves the house to be stripped, while the sill and casing are done in place inside a sealed work area. New weatherstripping stops the sash grinding against its stops, which is where window dust comes from.

The goal

The goal is the original front window opening smoothly in fresh paint, with no lead paint left on the sash, sill or casing.

Process

  1. Before work Paint test on the window, the state notified, and a temporary panel made for the opening.
  2. Day one Plastic inside and out, the sash taken out and wrapped, and the panel fitted.
  3. In the shop Sash stripped, joints repaired, the cracked pane replaced and the panes reglazed.
  4. Back on site Sill and casing stripped wet, HEPA cleanup, then primer and paint.
  5. Last day Sash refitted with new weatherstripping, then the area cleaned and checked.

Planning right

  • Restoring keeps the look of the street front, which matters on a Lockhart landmark or in the Courthouse Square district.
  • Old glazing putty often holds lead too. It comes off with the paint.
  • A sash that sticks will wear through new paint. Freeing it up is part of the job.
  • One restored window costs about the same as a new one. The reason to do it is the original wood and glass.

Get a free quoteMore about lead-painted windows and doors

Encapsulated trim, doors and stair railing in a 1970s house

Example project

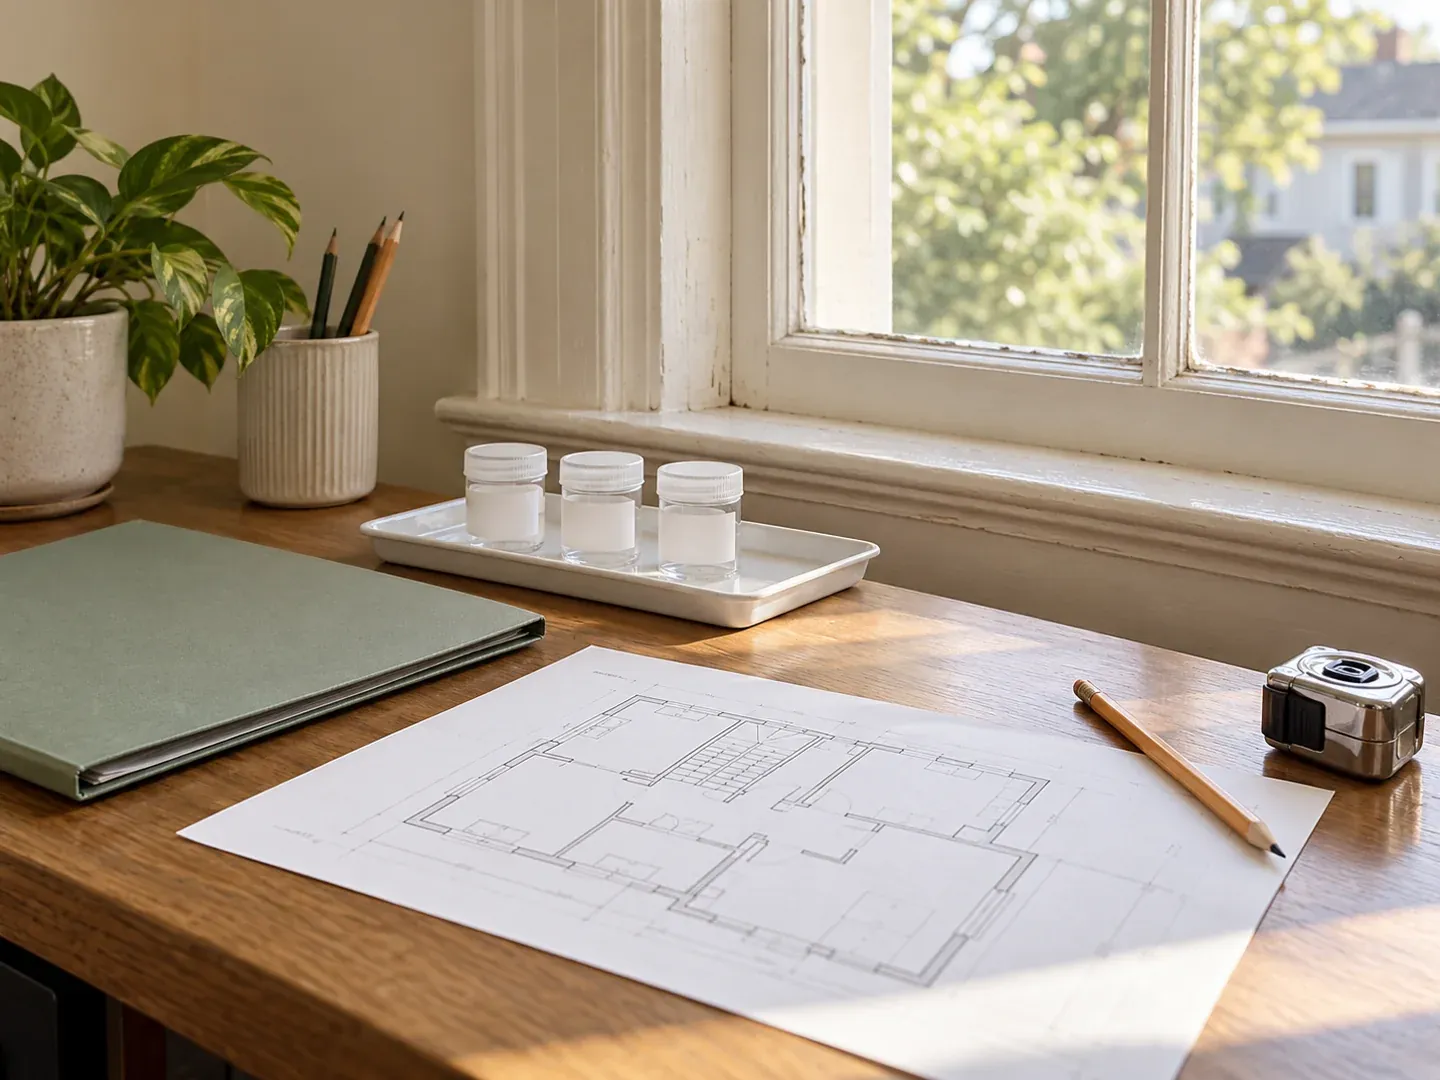
Floor plan, sample containers and a tape measure on a desk beside a painted window
Home
1970s two-story house in San Marcos
Original request
Deal with lead paint on the trim and doors before a new baby arrives
Testing
Lead in the oldest paint layers on the downstairs trim, doors and stair railing; none on the walls
Surfaces
Trim, doors and the stair railing in the living room, hall and dining room
Area
About 900 sq ft sealed
Finish
Two coats of encapsulant, then paint to match; the handrail top stripped instead
Timeline
State notice seven working days ahead, then five working days
Estimated cost
$6,400

Scope of work

Floors covered, loose edges misted and scraped off by hand, HEPA vacuuming and wet wiping, a test patch of the encapsulant on one door frame, two coats over the trim, doors and railing, paint to match, and a clearance test. The top of the handrail, which hands rub every day, is stripped rather than coated.

Project overview

In this example, a test in a 1970s San Marcos house finds lead in the oldest layers of paint on the downstairs trim, the doors and the stair railing. The paint is still firmly stuck, and the owners want the hazard dealt with before a new baby arrives, without stripping every piece of trim.

Encapsulation suits sound paint like this. After loose edges are scraped off wet, a coating made for sealing lead paint goes over it. Because the aim is a lasting fix, it is handled as abatement, with notice to the state and the household away on work days. The handrail top is the exception. Hands wear through a coating, so that part is stripped.

The goal

The goal is smooth, sound trim with the lead paint sealed in, a handrail with none left on it, and a written record of what was covered.

Process

  1. Before work A test patch on one door frame, left to cure and pulled at with tape to see that it grips; the state notified.
  2. Day one Floors covered, the rooms closed off, loose edges misted and scraped.
  3. Day two HEPA vacuuming and wet wiping, and the handrail top stripped.
  4. Days three and four Two coats of encapsulant on the trim, doors and railing.
  5. Day five Paint to match, a final clean and the clearance test.

Planning right

  • Sealing leaves the lead in place. A plan of the sealed rooms belongs with the house papers for the next remodel or sale.
  • Door edges and stops rub, so they are stripped or watched closely rather than only coated.
  • Look over the coated trim each spring and touch up chips before they spread.
  • Trim that is peeling across its face is stripped or replaced, not coated.

Get a free quoteMore about lead paint encapsulation and enclosure

Request a free lead paint removal quote

Send the street address and a rough build year, and say which rooms or outside surfaces you want to change. We'll get back to you soon with an estimate or any questions we have. Estimates are free and there's no obligation.

Call (737) 248-7125

Call (737) 248-7125